Optical Label Printing: QR, Jewellery, Frame, and Demo-Lens Tags
Small labels carry a surprising amount of information in an optical shop. A frame tag may need the model, colour, size, price, and a scannable code. A demo-lens sticker must stay compact and readable. A jewellery-style tag needs a narrow tail that wraps around the frame arm without covering the brand.
Four useful optical label formats
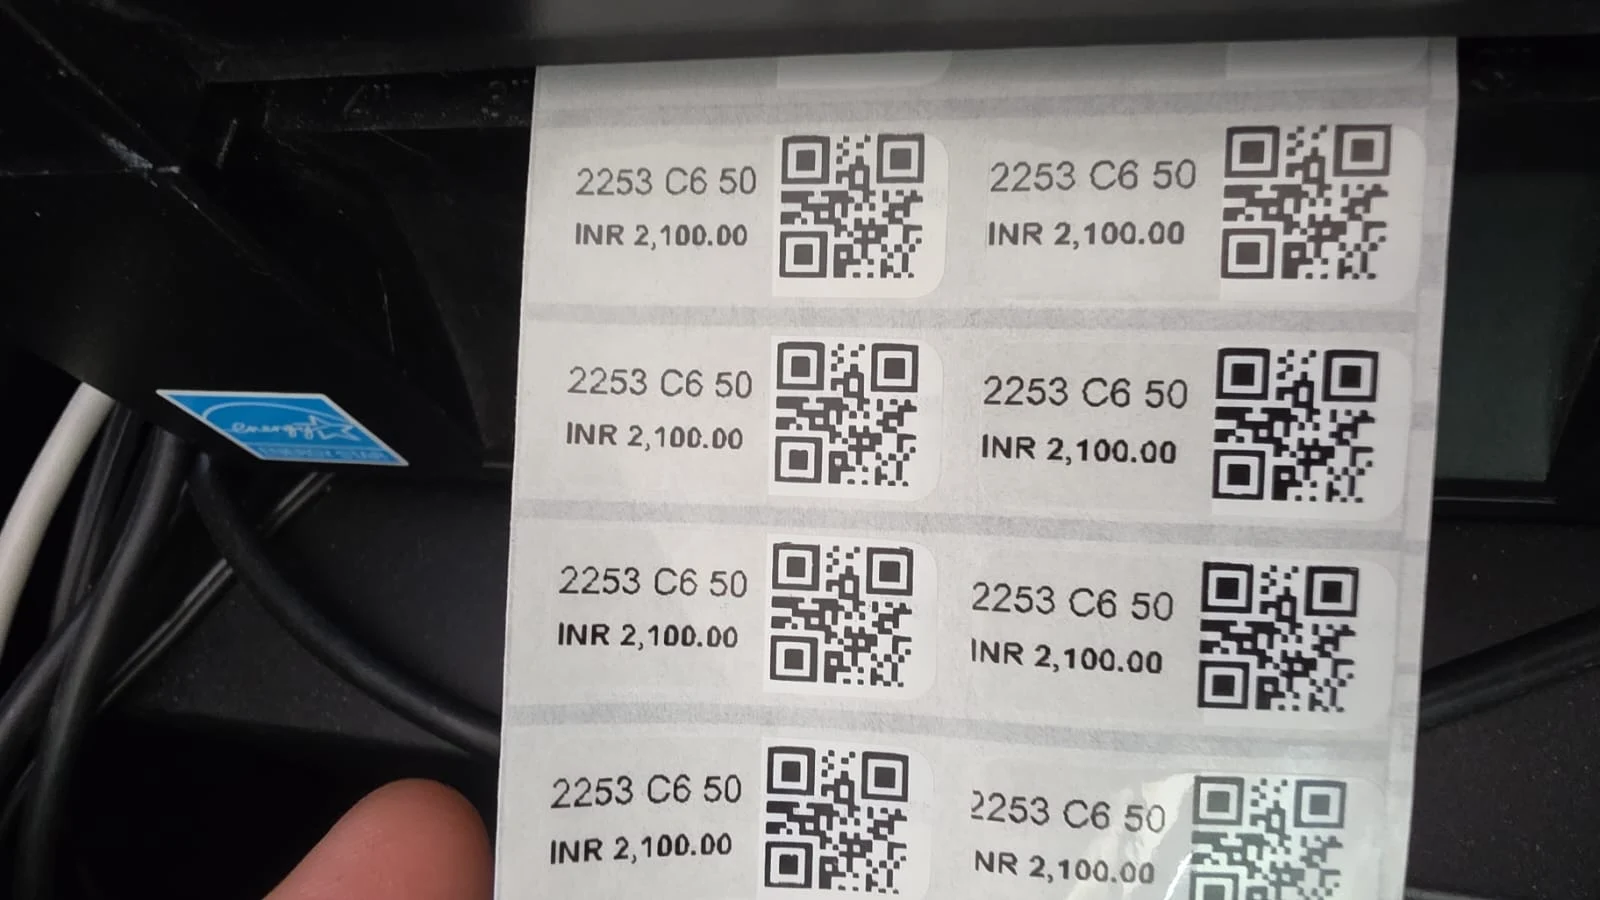
1. Compact QR price labels
Use these for frames, lenses, and accessories that need quick lookup. Keep the product code and price large enough to read at the counter. Leave quiet space around the QR code so a phone or scanner can detect it reliably.
2. Two-up batch labels
Two-up sheets are useful when a shop is tagging a fresh delivery. Match the paper width, gap, margins, and print direction to the stock. A consistent grid reduces waste and keeps the codes aligned from the first row to the last.
3. Jewellery-style frame tags
These tags use a thin bridge or tail to loop around a temple arm. Put the model and price on the wider body. Keep the tail light and position the cut or fold line away from the important text.
4. Demo-lens and transparent stickers
Transparent optical-safe stickers work well on demo lenses when the label must be visible without hiding the frame. Use high contrast, short text, and a QR code sized for the real print area. Test removal on the stock before applying it to customer-facing products.
Fields worth keeping on the label
- Brand and frame model
- Colour, size, or variant
- MRP or selling price with currency
- Item code, barcode, or QR code
- Lens power or coating when the workflow needs it
Print for the stock you actually use
Measure the printable width and height first. Then set the label dimensions, margins, padding, code size, font size, rotation, and batch quantity. Print one test label on plain paper and place it over the stock before running a full sheet. This catches clipping and alignment problems early.
Use the Reflex label printing page to preview frame tags, jewellery-style tags, demo-lens stickers, and QR batches. When the design is ready, choose the Reflex software that matches your shop.